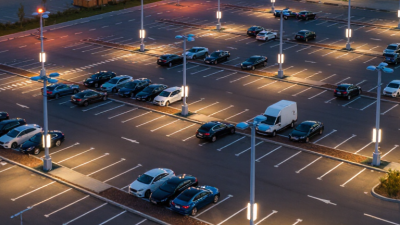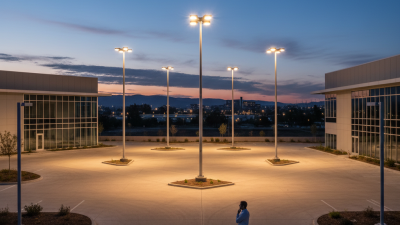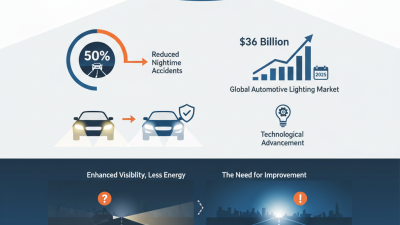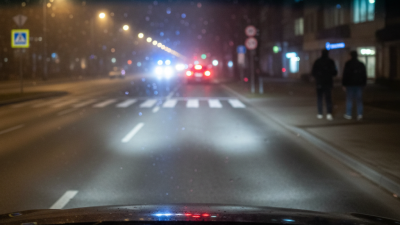


Choosing the best site lighting for your project begins with more than fixture selection. It requires a clear understanding of people, vehicles, architecture, weather, and nighttime behavior. A parking area may need broad, even visibility. A pathway may require softer light, careful glare control, and stronger visual guidance. The right solution should make movement feel natural, not expose every surface with excessive brightness.
Lighting engineer James R. Benya offers a useful reminder: “Good lighting is more than illumination; it must serve people, place, and purpose.” That principle remains practical when comparing LED fixtures, mounting heights, beam angles, color temperatures, and controls. A 20-foot pole can cover a wide area, but poor aiming may send glare toward nearby homes. A bright wall pack may improve security perception, yet create harsh shadows beside a doorway. Small details matter.
Experience also shows that project teams sometimes overvalue initial price. That choice can become expensive after repeated maintenance, uneven illumination, or complaints from neighbors. It is easy to miss those risks during daylight planning. I have found that a simple nighttime walk-through often reveals more than a spreadsheet. Still, no lighting plan is perfect. Trees grow, layouts change, and human preferences differ. This guide examines how to balance performance, energy use, durability, safety, visual comfort, and long-term value when selecting site lighting for commercial, industrial, residential, and public spaces.
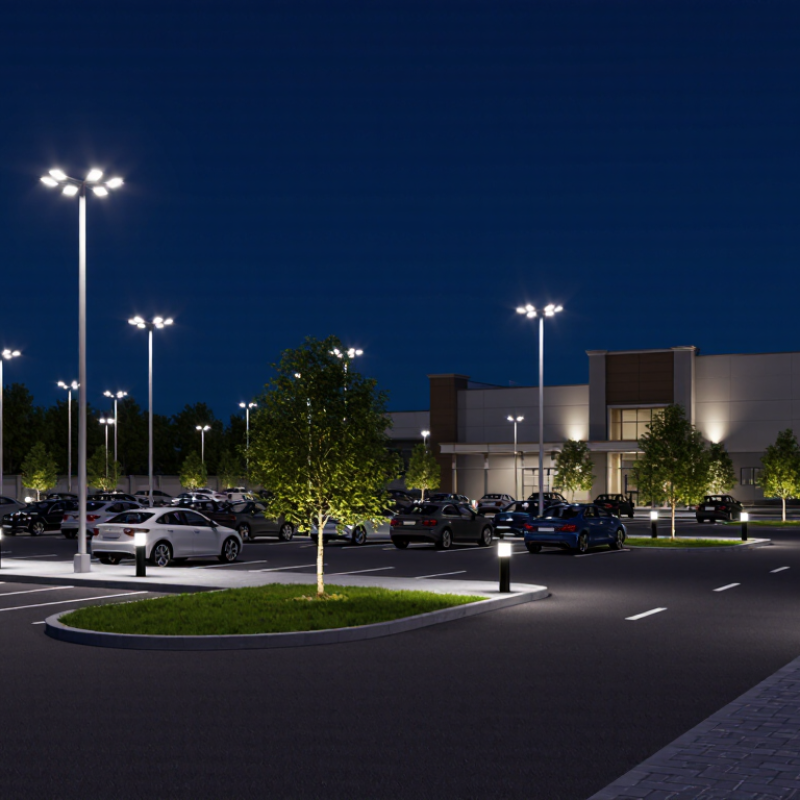
Before choosing site lighting, define what the project must achieve. A warehouse entrance needs clear visibility, while a pedestrian path may need softer, more uniform light. Walk the site after sunset. Note dark corners, reflective surfaces, vehicle movements, and nearby homes. Daytime observations often miss these problems.
Set measurable objectives for safety, visibility, energy use, and visual comfort. Identify the required operating hours and seasonal conditions. Record mounting heights, available power, drainage issues, and maintenance access. Local lighting standards may specify illuminance, uniformity, glare control, or spill limits. A qualified lighting professional should verify these requirements before design approval.
Use photometric calculations, then compare them with real site conditions. A design can meet target levels but still feel uncomfortable near a wet pavement or bright sign. Consider dimming, motion controls, shielding, and emergency operation. Good lighting should guide people without disturbing neighbors or creating harsh contrast. I have seen projects focus heavily on initial cost and underestimate cleaning, replacement, and access expenses. That mistake can weaken long-term performance. Some assumptions will be wrong. Leave room for testing and adjustment. A nighttime trial with temporary equipment can reveal issues that drawings cannot show. During review, ask whether every fixture supports a clear project objective, or simply adds more light.
| Site Zone | Primary Activity | Recommended Average Illuminance | Target Uniformity | Typical CCT | Minimum CRI | Glare and Light-Spill Objective | Recommended Control Strategy | Environmental Protection | Primary Lighting Objective |
|---|---|---|---|---|---|---|---|---|---|
| Main Vehicle Entrance | Vehicle access, gate recognition, and pedestrian crossing | 20–30 lux | At least 0.40 | 3000–4000 K | 70 | Limit direct view of bright LED sources and avoid glare for drivers approaching the entrance. | Dusk-to-dawn operation with photocell control; reduce output during low-traffic hours. | IP65 minimum; IK08 recommended for exposed fixtures | Improve navigation, vehicle awareness, and personal safety at the point of entry. |
| Internal Access Road | Low-speed vehicle movement and route identification | 10–20 lux | At least 0.25 | 3000–4000 K | 70 | Use controlled beam distribution to keep light within the roadway and minimize spill into adjacent areas. | Photocell plus astronomical time-clock; adaptive dimming during periods of low occupancy. | IP65 minimum; corrosion-resistant housing for outdoor exposure | Provide continuous route visibility without excessive energy use or driver discomfort. |
| Pedestrian Walkway | Walking, wayfinding, and informal social movement | 10–20 lux | At least 0.30 | 2700–3500 K | 80 | Maintain comfortable brightness at eye level and avoid sharp contrasts near steps, corners, and crossings. | Motion or presence detection with a low standby level and timed full-output operation. | IP65 minimum; IK08 recommended in public areas | Support safe, comfortable pedestrian movement and clear facial recognition. |
| Parking Area | Parking, vehicle circulation, and pedestrian access | 10–20 lux | At least 0.25 | 3000–4000 K | 70 | Control uplight and horizontal glare while maintaining visibility between parked vehicles. | Photocell, scheduling, and zoning by occupancy; dim to 30–50% after peak hours where permitted. | IP65 minimum; IK08 or higher in areas vulnerable to impact | Improve security perception, vehicle visibility, and efficient circulation. |
| Loading and Service Area | Deliveries, loading operations, and material handling | 30–50 lux | At least 0.40 | 3500–4500 K | 80 | Prevent glare that could obscure workers, reversing vehicles, or forklift operators. | Separate operating zones with occupancy sensors and manual override for delivery schedules. | IP65 minimum; IK08 recommended | Support accurate task visibility, safer vehicle movement, and reliable material handling. |
| Building Perimeter | Security observation and façade-adjacent circulation | 10–20 lux | At least 0.25 | 2700–3500 K | 80 | Direct light toward the ground and relevant surfaces; avoid illuminating neighboring properties. | Dusk-to-dawn operation with independent security zones and nighttime dimming. | IP65 minimum; IP66 for severe weather exposure | Eliminate dark pockets while reducing nuisance light and unnecessary energy consumption. |
| Outdoor Stairs and Ramps | Changes in level, accessibility routes, and emergency movement | 30–50 lux | At least 0.40 | 3000–4000 K | 80 | Minimize shadowing on treads, handrails, ramps, and landings; avoid visible high-intensity sources. | Continuous low-level lighting with motion-assisted boost during use. | IP65 minimum; IK08 recommended | Improve depth perception, accessibility, and accident prevention. |
| Public Gathering Area | Waiting, seating, events, and outdoor interaction | 20–50 lux | At least 0.40 | 2700–3500 K | 80 | Use comfortable, low-glare illumination with good vertical light for facial recognition. | Scene-based controls for normal use, events, cleaning, and after-hours security. | IP65 minimum; IK08 recommended | Create a welcoming environment while maintaining visibility and operational flexibility. |
| Security-Sensitive Boundary | Perimeter monitoring and intrusion detection | 10–30 lux | At least 0.30 | 3000–4000 K | 70–80 | Direct light toward the monitored zone and coordinate with cameras to avoid overexposure and deep shadows. | Integrated motion detection, alarm-triggered full output, and centralized monitoring. | IP66 minimum; IK09 recommended in high-risk locations | Support reliable surveillance, deterrence, and rapid response. |
| Landscape and Ecological Buffer | Decorative orientation and limited nighttime access | 5–10 lux | At least 0.20 | 2200–3000 K | 80 | Use fully shielded, low-intensity fixtures; keep light away from habitats, water surfaces, and neighboring properties. | Short operating schedule, seasonal adjustment, and automatic switch-off after site closure. | IP65 minimum; IP67 for fixtures near water or below-grade locations | Provide orientation and visual interest while protecting dark-sky conditions and wildlife. |
| Emergency Access Route | Emergency vehicle access and evacuation movement | 10–20 lux | At least 0.40 | 3000–4000 K | 70 | Maintain clear visibility at turns, gates, hydrants, and obstructions without creating disabling glare. | Dedicated circuit with emergency backup and priority override from the site management system. | IP65 minimum; robust impact-resistant construction | Ensure dependable visibility during routine operation and emergency conditions. |